
Professional Results Require Professional Preparation
You’ve invested in a hand-engraved work of art from Engraving Nation. Now, ensuring it sits perfectly on your truck is the final step in the transformation. Whether you're upgrading a classic Silverado or a brand-new 2024 Tahoe, the installation process determines the longevity and 'factory-plus' look of your build.
Tools You'll Need
- Plastic Trim Removal Tools: Essential for prying without scratching your paint or plastic grille.
- Heat Gun or Hair Dryer: (For adhesive-backed emblems) to soften the 3M tape.
- Microfiber Cloths: For cleaning the mounting surface.
- Isopropyl Alcohol (70%+): To ensure a grease-free bond for the new adhesive.
- Painter's Tape: To mark alignment and protect surrounding areas.
Step 1: Removal of the Factory Emblem
Most modern Chevy bowties are held in by either plastic clips (snap-in) or automotive adhesive. For clip-style grilles, gently insert your trim tool behind the edge of the emblem and work your way around until you hear the 'click' of the clips releasing. For adhesive-backed badges, apply low heat for 30 seconds to soften the glue, then use a sawing motion with fishing line or a plastic pry tool to lift the emblem.
Step 2: Surface Preparation (The Most Important Step)
Once the old emblem is gone, you'll likely see 'ghosting' from old adhesive or dirt. Use your isopropyl alcohol and a clean microfiber to scrub the mounting area until it is perfectly smooth and tack-free. Any leftover wax or residue will prevent your new engraved emblem from bonding correctly.
Still Haven't Picked Your Design?
Browse our full Chevrolet collection and find your signature pattern.
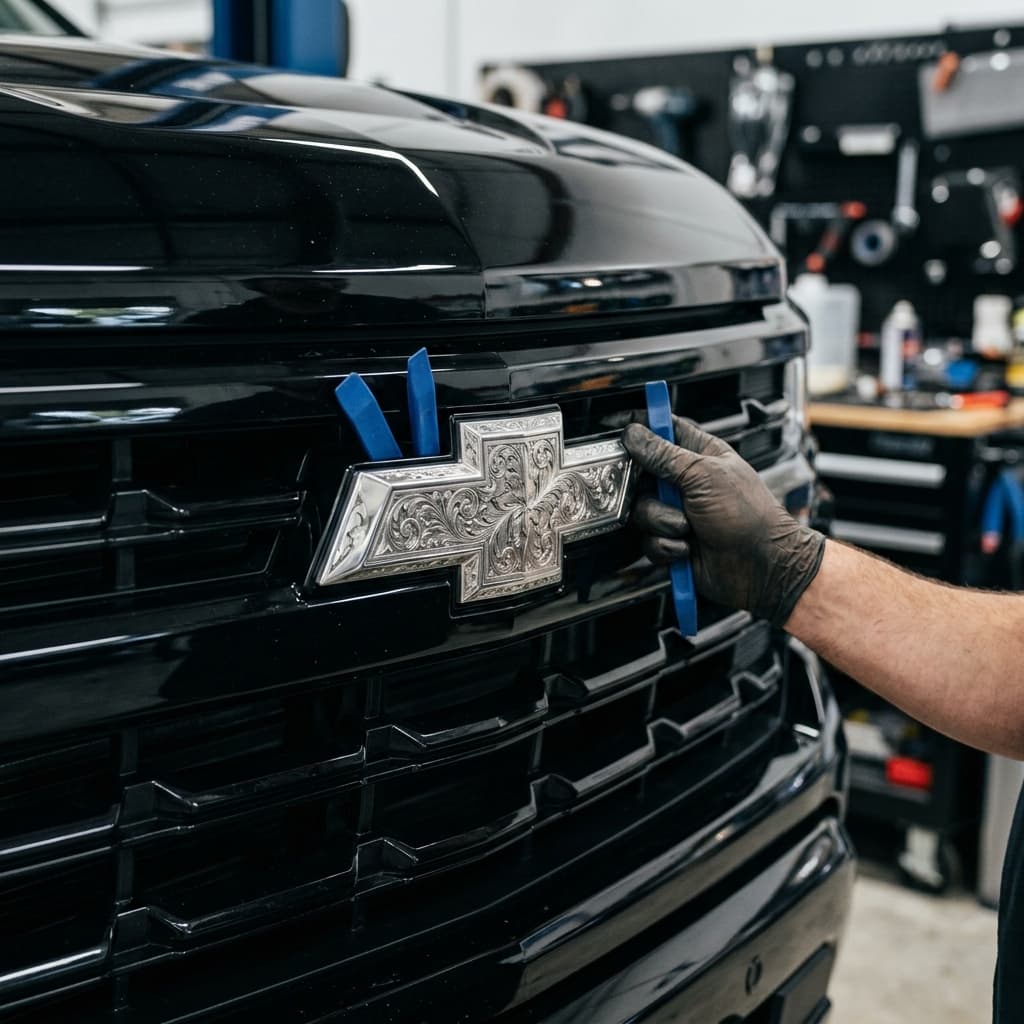
Shop Chevy CollectionStep 3: Test Fitting & Alignment
Before peeling the adhesive backing off your Engraving Nation emblem, do a 'dry fit'. Note any alignment pins. Use painter's tape on the grille to mark exactly where the top and sides of the emblem should sit. This gives you a visual guide when the adhesive makes contact.
Step 4: The Final Install
Once you are confident in the alignment, peel the 3M backing. Press the emblem firmly into place, starting from the center and moving outward. Apply steady pressure for at least 60 seconds. Pro Tip: Avoid driving or washing your truck for at least 24 hours to allow the adhesive to fully cure.
Need More Help?
If you encounter a unique mounting style or have questions about your specific model year, our team is standing by. Check out our Gallery to see how other owners have positioned their custom badges.